How To Create a Photobucket Account And Make It 100% Complete

Have you ever set up a Photobucket Account? Have you created one which is still bare and needs information adding? In this article I will be showing you step by step instructions on how you can not only create a complete profile, but also some tips on how you can improve your uploads and get the most out of them.
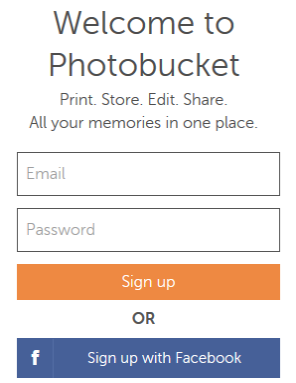
The first step you need to take is to go to the Photobucket website – www.photobucket.com, where you will then be greeted with a Sign up box on the left hand side. Photobucket allows you to sign up either with your own email address or with your Facebook logins. If you select to sign up with your Facebook it will link the two profiles together.

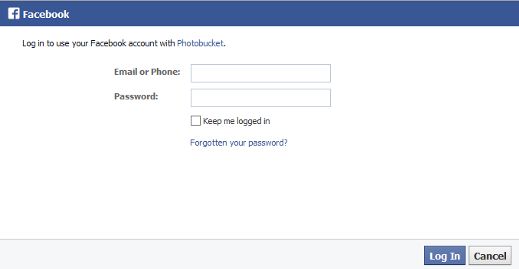
If you do click 'Sign up with Facebook' a pop up box will show and all you then need to do is enter your Facebook login details.

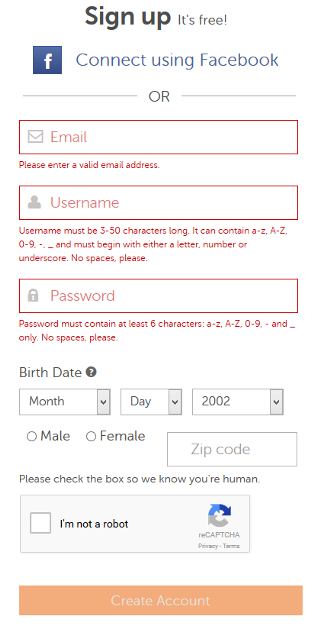
If you enter your normal email address and password and click 'Sign up' you will then go to a new page where you are able to; confirm your email address, pick your username, pick a password, select your date of birth, select your gender, provide your Zip Code (Postcode) and then prove you are not a robot by ticking the 'I'm not a robot' box. Below is a screenshot of the page. You will see that there are certain requirements that you need to meet. These are for your; email address, username and password. You need to make sure you are providing a valid email address. Your username must contain 3-50 characters and can consist of letters, numbers, underscores or hyphens. Your password must be at least 6 characters and again this can consist of letters, numbers, underscores or hyphens. If you also want to create a Pinterest account learn how today - How to Create a Pinterest Account and Use it to Increase Your Website Traffic

Once you have clicked Create Account it will then validate and you will be taken to a screen where you can select different storage plans. If you want to continue with a free account all you simply need to do is click 'Skip this step'.
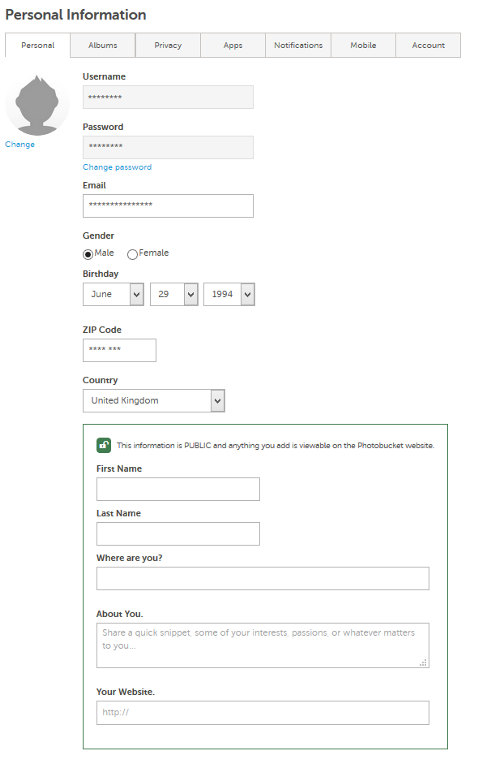
You have now created an account, the next step is to complete your profile with as much information as you can. You now need to click on your profile and then click the edit button.
You first need to make sure you have a profile picture. You can simply add this by clicking on the change button just underneath the silhouette of a person. If you are setting up a business account you can use your logo as your profile picture. The next bit of information you want to fill in is 'where are you', 'about you' and 'your website'. You want to make sure you fill in where you are located so that you can become easier to find. Again if you are a business for the ‘about you’ section, you can simply put a couple of lines about what your business does. Then for the website section all you need to put is your homepage URL.

Once you have completed this you then simply need to save.
You are now ready to start uploading to your account. You are able to upload images and videos to Photobucket. To get the best our of your Photobucket account not only do you need to upload regularly, but you need to make sure you are uploading high quality images and videos. You also want to make sure you are adding a title and description to all your images, not only will this be helpful for the person viewing your images, but it will also help your images get found across the site. If you want to learn more about Social media in 2015 here is a great article - Which Social Media Channels Should I Use In My Business In 2015?
You have now not only created a Photobucket account but you have also made sure it is 100% complete with relevant information. You need to also make sure that you check your account regularly because if any of your details change it is important that you keep your Photobucket account up-to-date to. If you have any questions or if any issues have come up when you have tried to create an account, please comment below and we will be more than happy to help you.
Article by: Adam Jones


